Financial Accounting - Use a custom Scenario in a Simulation

This article is intended for Instructors

For guides on how to set up a custom Scenario for Financial Accounting, please see these articles :
1. Go to the Instructor Zone
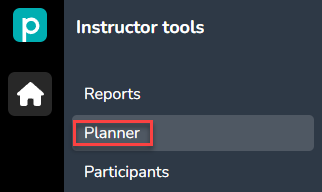
2. Under Instructor tools, click on Planner
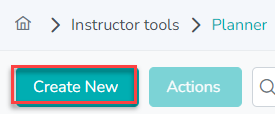
3. Create New
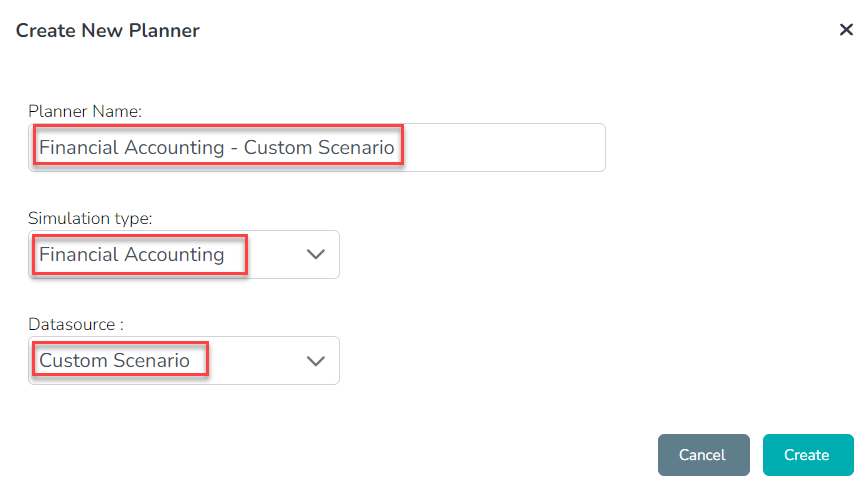
4. Give the Planner a name, select Financial Accounting as the simulation type. Then select your Scenario:
5. Read the Disclaimer, then click on Next
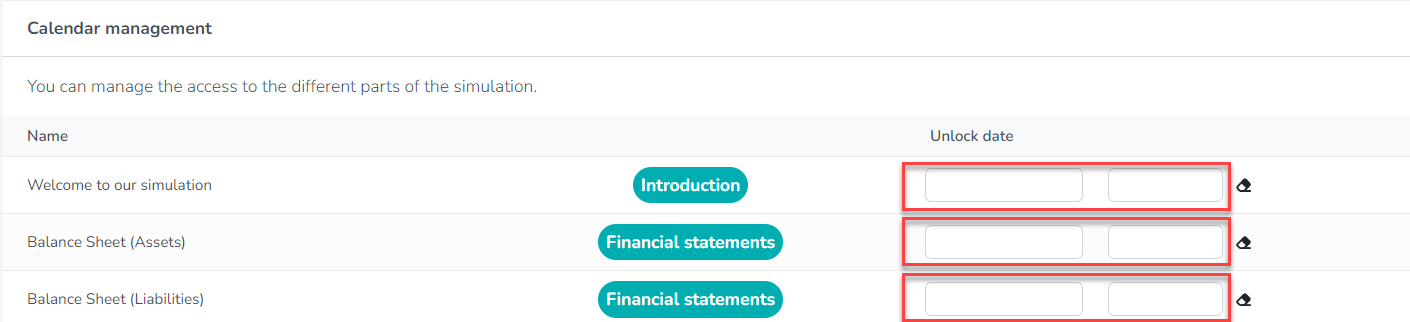
6. In the Calendar Management section, you can choose a date and time for when a section or sections can be unlocked. This can help to control the progress of your students. Leaving the options blank will mean that the section or sections are unlocked. Afterwards, click on Next.
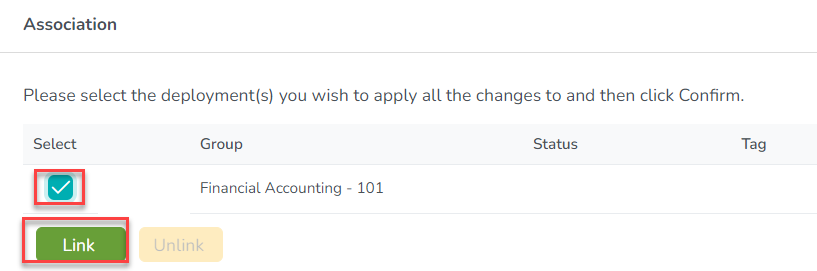
7. In the Associated section, you can link a newly deployed Financial Accounting simulation to your Planner, so that it obtains your scenario and your calendar configuration. Just click on the check box next to the simulation's name and then click on Link:
8. Click on Finished and your simulation is now ready for students to join it.